Date: May 29 - 30, 2016
Activity: Mt. Makiling Traverse Hike / Relaxing side trip at Dampalit
Falls
Location: MakTrav Sto. Tomas to UPLB / Brgy. Dampalit, Los Baños,
Laguna
Highest Elevation: 1090+ MASL (info from pinoymountaineer.com)
Difficulty: 5/9 (based from pinoymountaineer.com)
Planning:
Mt. Makiling is only around 60 to 70kms
away from Metro Manila. This is actually one of the nearest mountains in the
metro having high technical difficulty but it took the team 3 years of back and
forth planning to complete the traverse due to fear of “limatik” (mountain leech).
Then finally, on 1st week of May the team decided to complete this
pending task on our bucket before the rainy season comes, because limatik are
more active during rainy season. I thought we have a longer summer this year
because of the El Niño that’s why we scheduled it May 29th, but seems unfortunate
because PAGASA declared rainy season on May 24th. We observed that
weather is already changing and it is raining every afternoon resulting for the
other team member to back-out. But me, and ReyM are already decided to do this
even with rain or more rain. As we’ve said, “let’s conquer our fear”.
Day 1, May 29: Makiling Traverse Day Hike
And the long awaited day comes. Me and
ReyM met at C5 then went to Buendia to catch the bus heading San Felix, Sto. Tomas
Batangas.

We asked the bus conductor to drop us at
7-11 San Felix but we found that they dropped us at 7-11 in kilometer 69 which
is around 5kms away from the correct drop-off. So lesson learned, it is best to
tell the conductor to drop you off at Sea Oil in San Felix instead of 7-11.
After finding the correct way, we took our breakfast first in nearby
“carinderia” (eatery), bought our pack lunch and then rode trike heading Sitio
Jordan. Registered, got the required guide and then start trek at
around 7AM.

The Traverse:
Trail is wide at the
start and after around 2kms after Makban Geothermal Plant, it became
single trail.

Gradual ascend from geothermal plant up to
station 4. The last water source is at station 4 so make sure to replenish
your bottle at this point as the next possible water source is in Agila Base
after the traverse.

After station 4, the trail will then
followed with continuous steep ascend that will make you heart pump hard.
We took this ascend slowly to avoid our leg muscle to get tired early until we
reach the resting point at station 7 after 1 hour and 45 minutes from the
drop-off point.

Ten minutes rest just to catch our breath
and we continue trekking again. After another 10mins, we've reached this big rock
that serves like a view deck and I thought that this is the “Haring Bato”, but
our guide told us that it isn’t. They called it “Turing Bato”.

From here, we were warned by our guide
that the trail in front of us is already a “limatik” infested area. So it’s
time for us prepare our counter “limatik” weapons. We found that
off-lotion is very effective “limatik” deterrent while alcohol is a good
reactive weapon to remove “limatik” without holding it.

Roping segment in between station 10 and
station 12:

From station 12, the forest vegetation is
getting thicker and thicker…..


Until those crawling creatures
started to stick on our clothes, pants and arms. I am from Mindoro and I know
“limatik” but I’m still afraid of it and it’s giving me creepy feeling every
time I felt or I see it crawling on my skin….ihhhh…..

While getting deeper into the forest, the
vegetation is getting thicker that the sunlight can’t even penetrate that keeps
the area wet, and this is the type of environment that “limatik” really love.
We have very few pictures at this point of the hike as we don’t want to stop
which will become a steady target of these blood sucking creatures.

Around 10:30AM when we reached station 15
which is a known resting point. I was really tired because of the continuous
walking in past pace from station 10 to 15. I’m about to take a sit on a log
for a rest when I noticed that on this area, there are more “limatik” compare
to other area. You can see them in groups anywhere you look, anywhere you go. Just
waiting for their victims to come nearer and they will stick into your
skin. Ihhh…. really creepy!!! It’s giving me goose bumps while I’m writing this
story.

Because of my fear of being their early lunch,
I’ve called to continue trek even without a rest. And to my surprise, the next
section is a continuous technical ascend heading Melka’s Ridge.
That is the reason why station 15 is a good resting point for you to catch your
breath and energy before the technical ascend.

And due to lack of training and the
continuous past pace ascend without a rest from station 10, my muscles gave-in
too early. My calf, hamstring and quads are started to cramp. But my buddy ReyM
didn’t failed to assist me. He helped me stretched and massaged my legs just to
relax a little bit and continue moving forward. Slowly, inch-by-inch and we
successfully survived the technical part of Haring Bato and Melka’s
Ridge up to Peak 3, safely.


 |
Sto. Tomas as seen from Melka’s Ridge
|


 |
Peak 3 is the 18th station
We took our lunch at Peak 3 as this
is the best resting point according to our guide, as the next stage heading
summit is again a limatik infested area.

Approximately 30 minutes of rest then
resume trekking again heading summit which is Peak 2.
 
Past 1PM when we arrived at the summit. Makiling
summit has thick vegetation thus there is no good clearing to have an
overlooking view. So we just confined ourselves to enjoy our rest at the summit
and have a souvenir picture on this tarp.

Around 1:30PM when we start our descent
heading Agila Base. No more pictures during the descent as the heavy rain
started to pour and we need to secure our electronics from getting wet. Past
3PM when we arrived at Agila Base.

Locals in Agila base are selling snacks,
drinks, coconut juice and sodas. We had our light snacks while taking some
rest. In going down to UPLB, you have an option to take the “habal-habal”
(motorcycle taxi), but we opt to take a walk to enjoy more the sceneries and
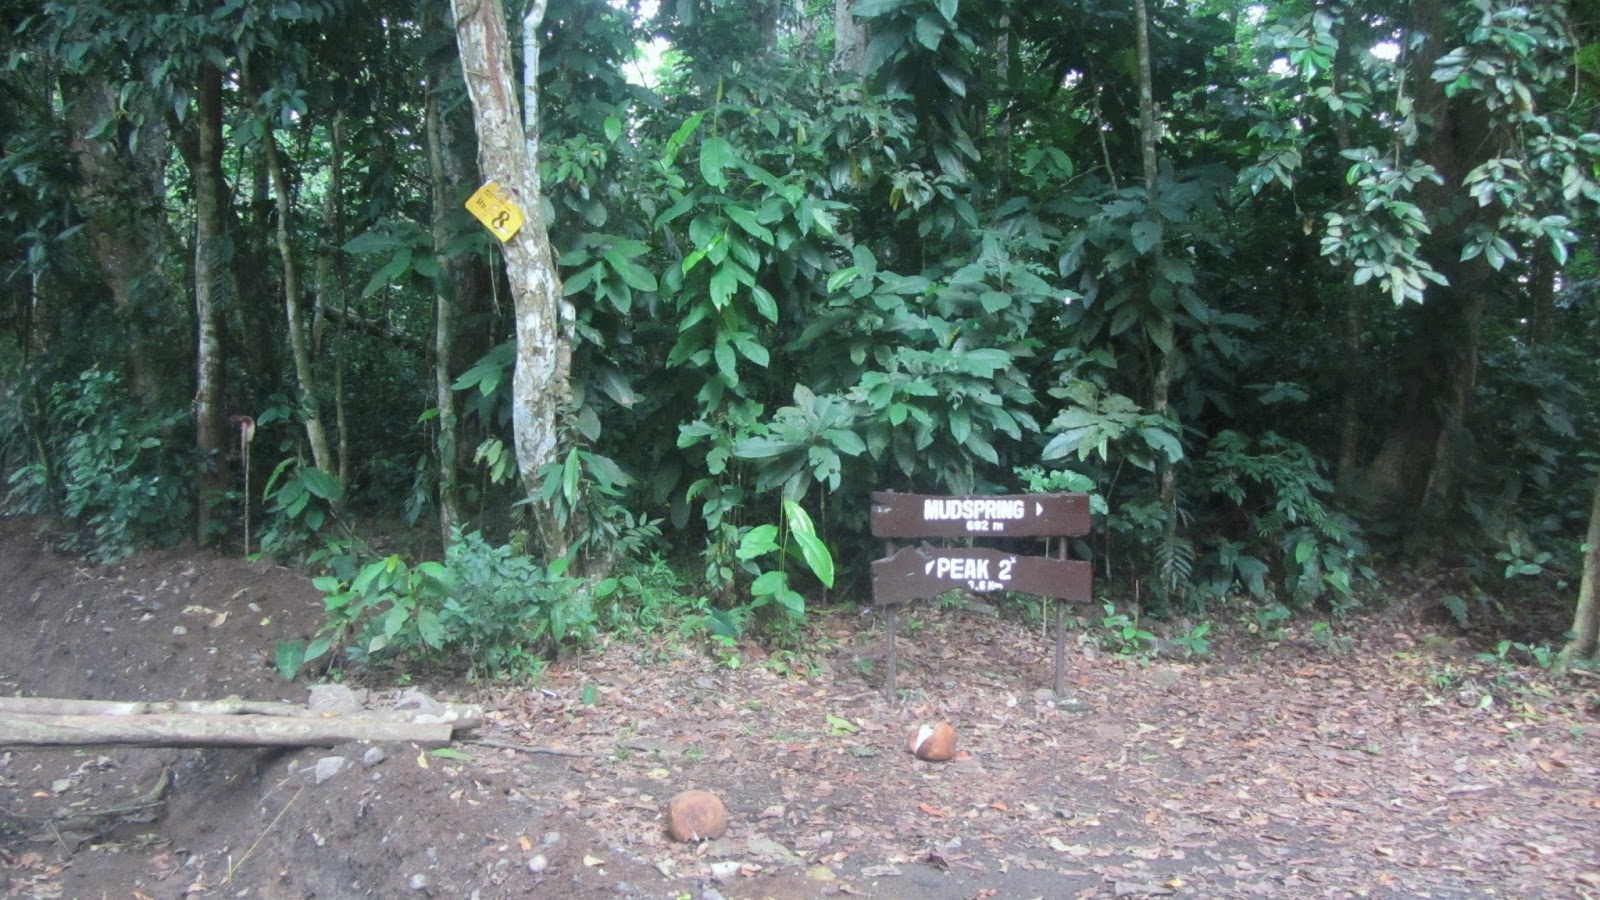
have the chance to drop by at the other side trips and one of them is the Mudspring
which is known to be the crater of Mt. Makiling.
After few pictures, we trek back to the
main road and had our “lomi” break at an eatery near the Makiling Rainforest Park.
 
After the quick rest, continue trekking
towards the UPLB gate entrance, rode jeep to National Highway then trike to
look for place to stay. We found Andrews Inn to be the cheapest in the area and
we ended the day.
|
The Traverse Map:

-- End of Day 1 –
Day 2, May 30: Dampalit Falls and back to Manila
We’ve included this falls as part of our
side trip due to curiosity, as we’ve heard that this Dampalit Falls was
mentioned in Rizal’s life where he met the first woman in his life named Julia.
We started our day around 6AM. Prepared
ourselves, had a quick breakfast at the nearby eatery, bought our pack lunch
then ride jeep to Camp Eldridge near Lalakay Elementary School where the
trailhead will start.

Dampalit Falls is only approximately 1.5km
from the highway but it took us more as we missed the fork going inside
Dampalit Falls. The wrong fork led us to the wrong falls which the locals
called it “Talun-talunan Falls”.


The locals we met along the trail gave us
the correct direction going to the falls that we are looking for and finally
here it is. A mini falls, the Dampalit Falls.


Had our shower at this looks to be a
dripping faucet, had our rest and sleep, then took our lunch before heading
back to Manila. Around 11:30 AM when we trek back to National Highway. Rode bus
going back to Manila and we are home around 2 in the afternoon.

Our Itinerary:
Day 1: May 29, 2016
(Sunday)
03:00 – Meet-up at C5
03:30 – Taxi to Buendia
04:00 – ETD by bus heading San Felix, Sto. Tomas, Batangas
06:30 – ETA San Felix, took our breakfast and bought pack
lunch
07:00 – ETA sitio Jordan, registered and secured the
required guide
07:15 – Start trek via Sipit Trail
08:45 – ETA Station 7
11:00 – ETA Melkas Ridge (Haring Bato)
11:30 – early Lunch at Peak 3 (1020 MASL)
12:00 – resume trekking
13:00 – ETA Peak 2 (1090 MASL)
13:30 – Start descent
15:00 – ETA Agila Base, quick rest
15:30 – resume trek heading Mud Spring
16:15 – ETA Mud Spring
16:45 – Had a quick break at Makiling Rainforest Park
17:45 – ETA UPLB gate
18:15 – ETA Andrew’s Inn where we stayed overnight
19:00 onwards – socials
Day 2: May 30, 2016
(Monday)
06:00 – wake-up call
06:30 – breakfast
08:15 – ETA Dampalit Falls, picture taking, shower and lunch
11:30 – ETD heading back Manila
14:00 – ETA Taguig
Our Expenses:
Taxi ( C5 to Pasay Buendia ): P120
Bus ( Buenda to San Felix, Batangas ): P235
Jeep ( 7 Eleven to 7 Eleven ): P14
Food ( breakfast and lunch ): P380
Tricycle ( 7 Eleven to Station 1
): P70
Buko ( Agila Station ): P90
Guide: P800
Merienda ( Station 8 ): P110
Registration ( UPLB ): P20
Jeep ( UPLB to Los Baños ): P14
Tricycle ( Los Baños to Andrews
Inn ): P40
Room ( Andrews Inn ): P600
Tricycle ( Andrews Inn to Kainan
): P30
Dinner: P185
Water ( 7 Eleven ): P58
Tricycle ( Kainan to Andrews Inn
): P40
Breakfast : P110
Water and Shampoo: P40
Registration: P40
Bus ( Los Baños to Magallanes: P168.3
Jeep ( Magallanes to FTI ): P20
Tricycle ( FTI to Triump ) : P18
Total for 2 persons: P3202.3
Total Expenses per Person: P1,601.15
How do we get there:
Taguig to Santo Tomas Trailhead:
Taxi from C-5 to JAC Liner in
Buendia
Bus ride from Buendia to San
Felix, Santo Tomas, Batangas (ask the conductor to drop you off at Sea Oil in
San Felix)
Tricycle ride from San Felix to
Sito Jordan
UPLB to Dampalit Falls and back to Manila:
Jeepney ride from UPLB to Camp
Eldridge
Bus ride from the National Highway
to Mantrade
Contacts:
Just proceed to Sitio Jordan and
secure the guide. Guides are required and they are available even during
weekdays. Just a small note that traverse is not allowed both-ways during Holy
Week.
That's all for now, thank you for visiting this site and until next time!!!...
-- END OF REPORT --


